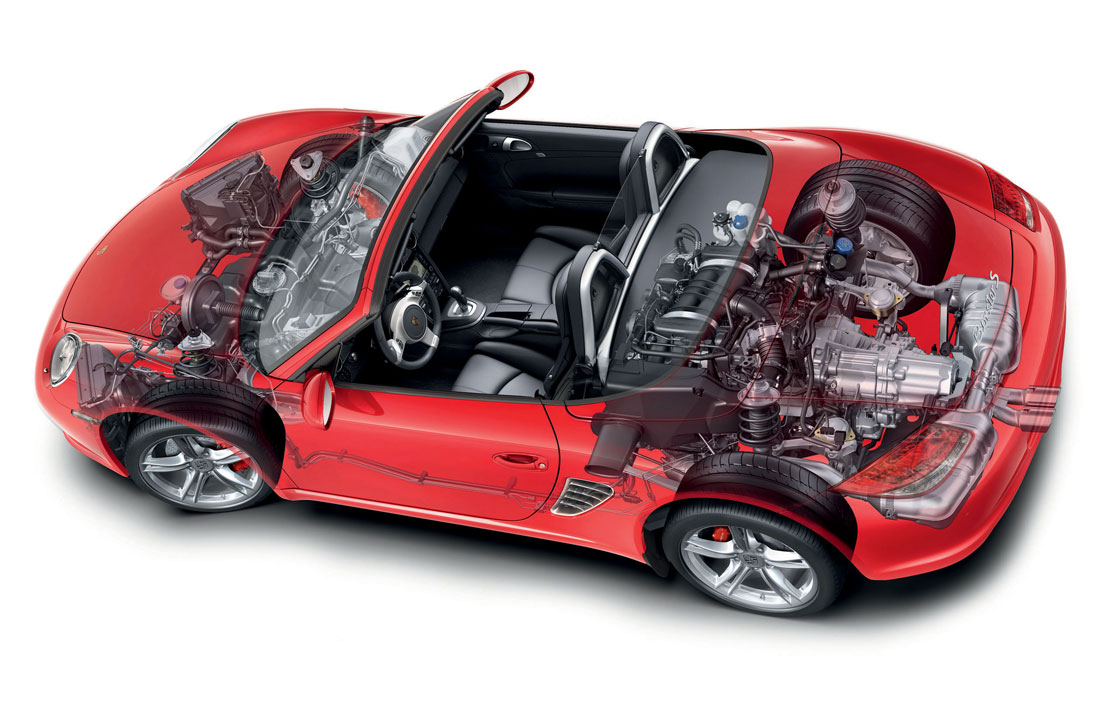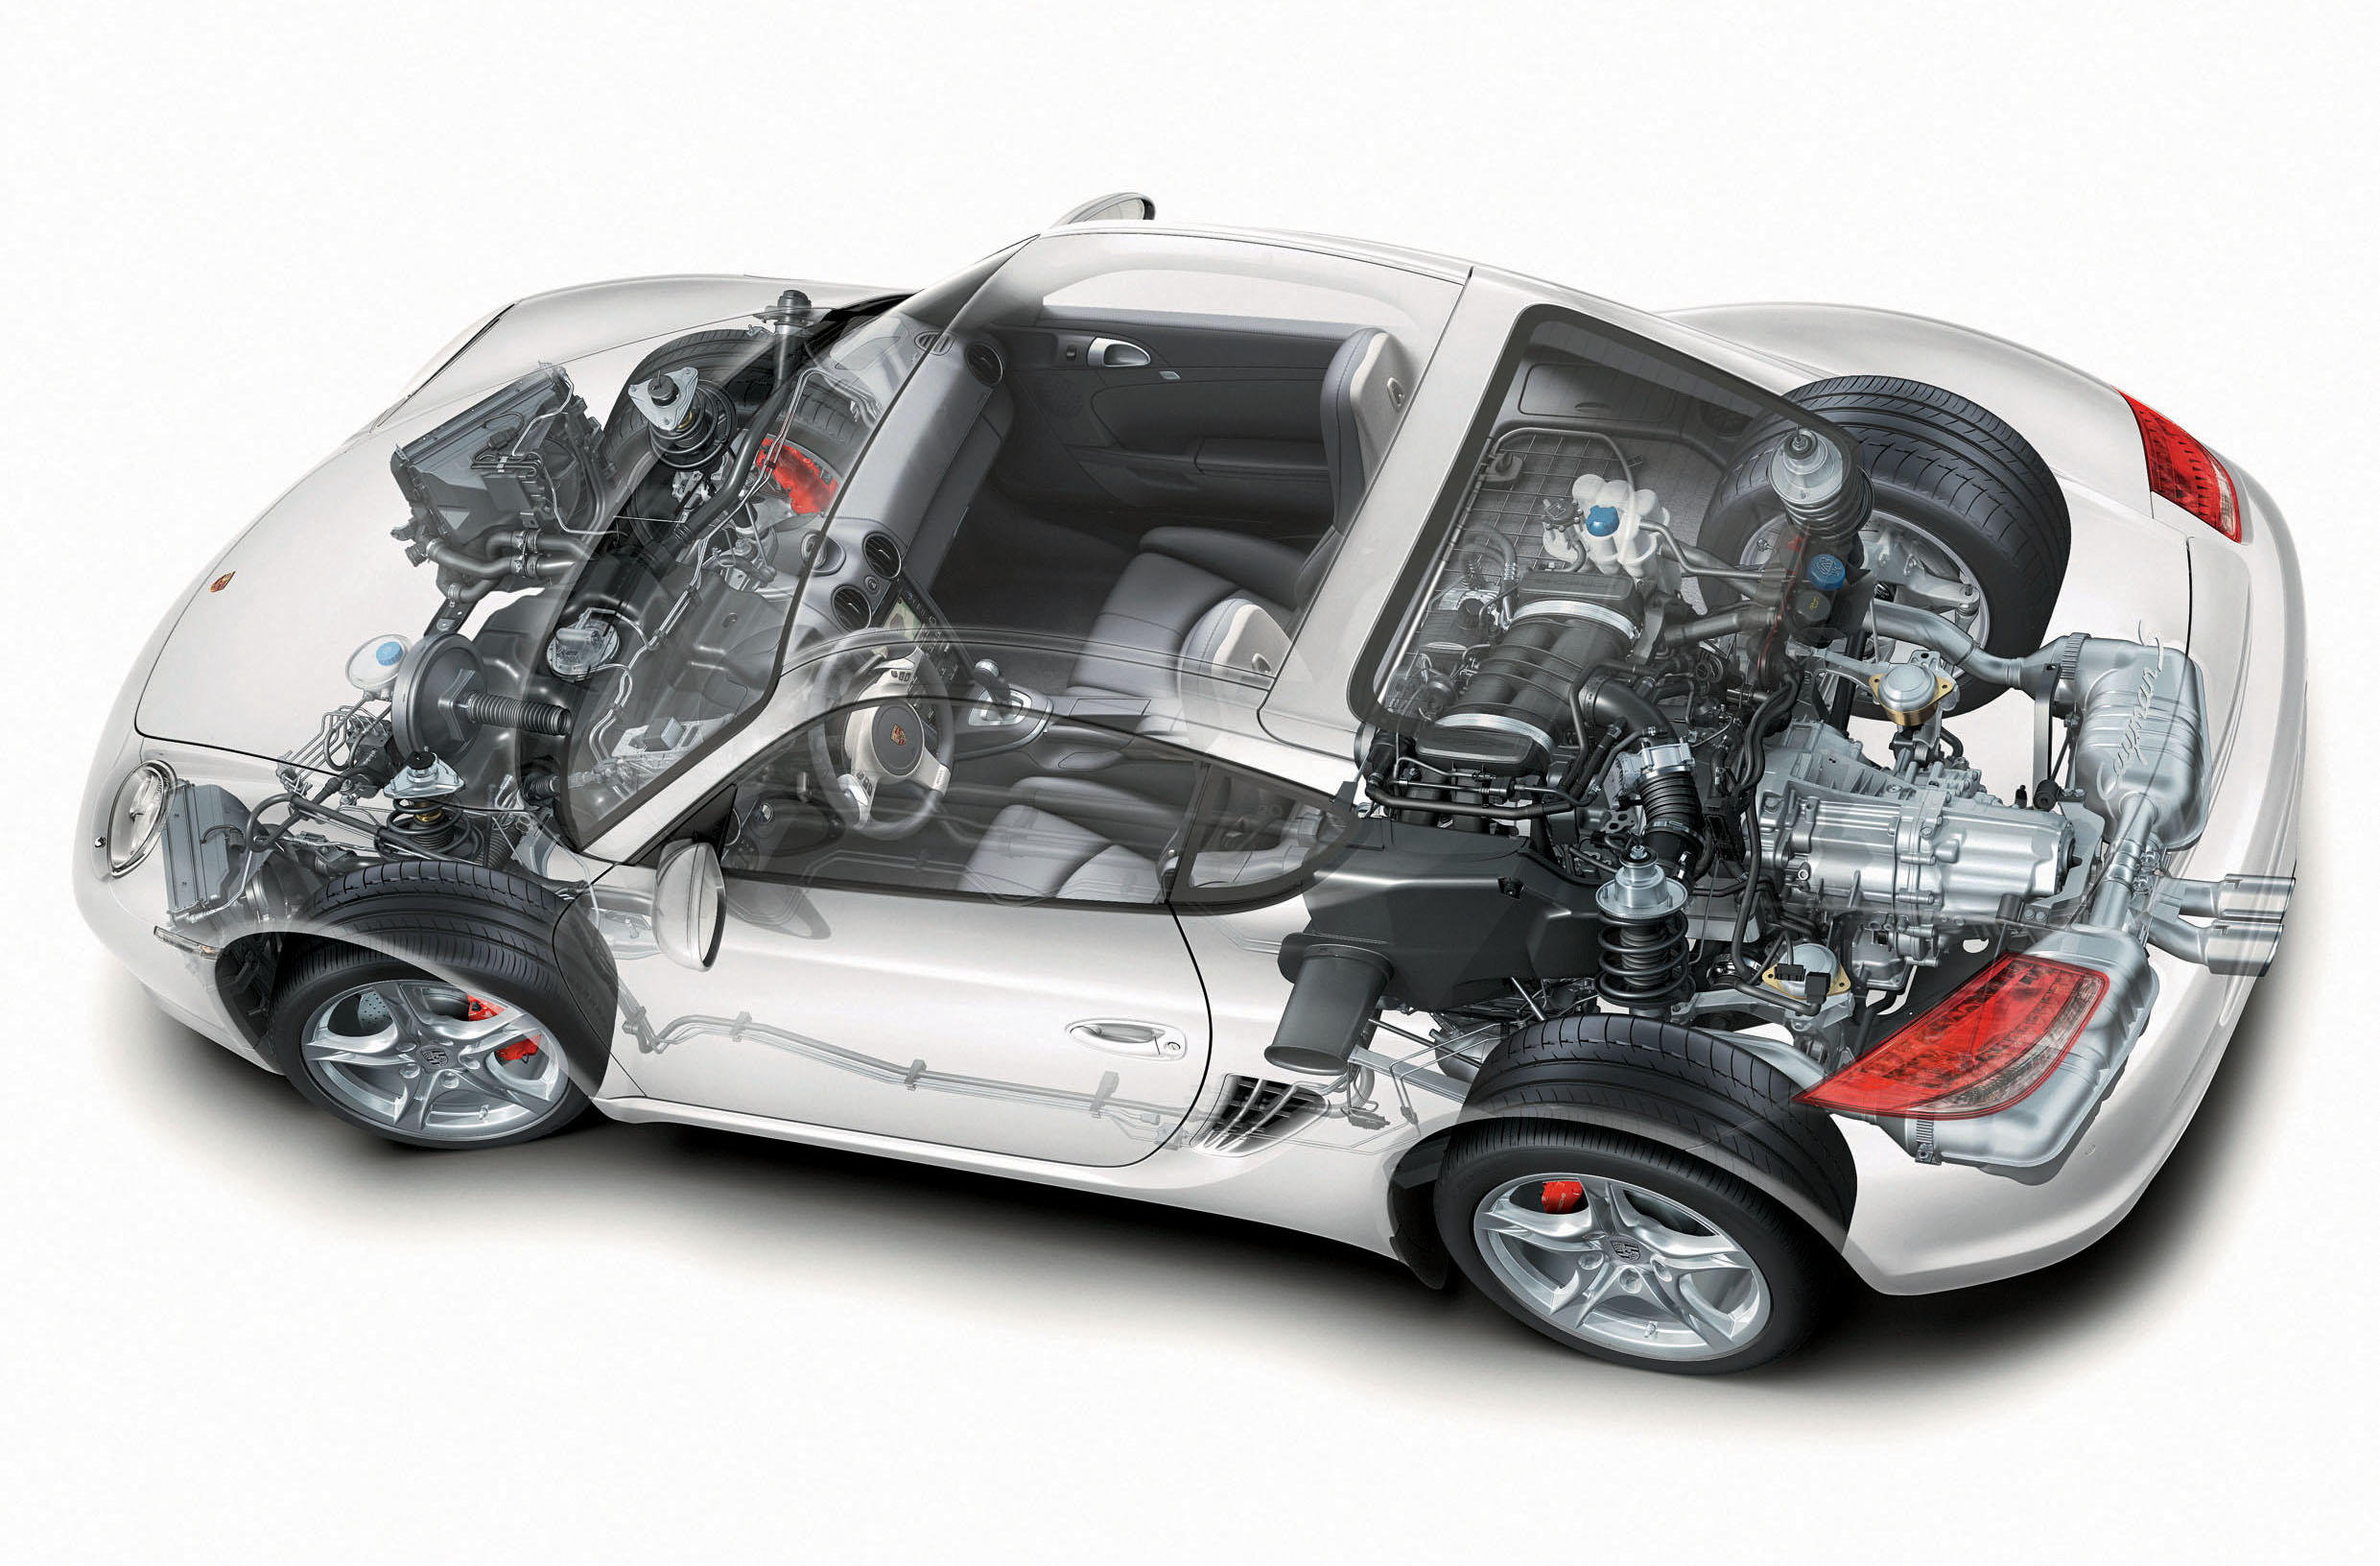

If your Boxster/Boxster S powered convertible top won't move when the switch is activated, but the clamshell moves, chances are your pushrod plastic ball joints have broken. No need to replace both of the expensive pushrod assemblies with the ball joint, which is the way the Porsche dealers do it, plus tax and labor. We have a much easier and cost saving solution- simply unscrew the old ball joints, and screw on new ones. Our ball joints are same ones produced by the same German original equipment manufacturer that supplies the Porsche factory, the same ones that are on all of the Porsche pushrod assemblies, and they are made to the same Porsche specifications. We highly recommend that you keep a spare pair of these ball joints in your car, so that you don't have to find them in a hurry when your ball joints break. To inspect your Boxster for broken ball joints, see the procedure below.
History, Description, and Operation:
Porsche Boxster and S model years 1997-2012 (models 986 and 987) utilize two pushrod assemblies, one for each side, in the convertible top (hood) transmission mechanism to open and close the top. When the convertible top switch is activated by the driver, the pushrods convert rotational motion to forward motion for top up (closed), or reverse motion for top down (open). The plastic ball joints (which we like to call ball sockets) are the pivital part of the pushrod assembly, and are by design, the weak link in the transmission mechanism in the event the system is mechanically stressed for any reason. Through normal use and age, one of the plastic ball sockets eventually cracks and breaks at the ball joint union, which puts additional stress on the other ball joint, causing it to break also. The typical remedy for most Porsche Boxster owners who see the convertible top as too complex to fix, take it to the dealer for the repair. Or, if they are a DIY type person, they buy the necessary parts from a Porsche dealer, and do the repair themselves to save the labor. Porsche does not sell the ball sockets individually, just the entire assembly, so if all one needs is the ball socket (in 99% of the cases), the metal part is not used, and often thrown away.
Here are the current Porsche part numbers and prices for a pair of the pushrod assemblies:
986 Boxster 1997-2004 (with red ball socket) Porsche P/N 986-561-279-02 $154.58 plus installation labor, tax/shipping
987 Boxster 2005-2006 through chassis # 986U7 31340 (with white ball socket) Porsche P/N 987-561-279-00 $96 plus installation labor, tax/shipping
987 Boxster 2006-2012 from chassis # 986U7 31340 (with white ball socket) Porsche P/N 987-561-279-01 $96 plus installation labor, tax/shipping
There are also some aftermarket pushrods for the early 986 Boxsters with ball sockets attached for a bit less money, but you still have to buy the whole assembly and it's much easier to just screw the ball caps onto the existing pushrods, rather than replacing the entire assembly.
There are some aftermarket manufactured plastic ball sockets being sold, but they are not original equipment, and there are steel ball sockets available that fit, but if installed, they are no longer the weak link in the system, so should your top bind during operation for some reason, you might be looking at an expensive transmission failure or damage to the top itself, so we don't recommend that solution.
We send full instructions for the removal of the old ball sockets, inspecting the top mechanism, and installing the replacement ball sockets, and we're available if you have questions before or after the sale. We only sell these in pairs, because if one breaks the other will shortly, and recommend that you keep an extra pair of these ball sockets in the car just in case, because unfortunately, the ball sockets will not let you know they're going to fail in the next week.
We are currently selling these new high quality German manufactured OEM ball sockets only in pairs.
Inspection, Repair, Installation, and Testing
We will send detailed instructions in Adobe Acrobat .pdf format on CD with the ball joints, but here's a summary. It's really quite easy when you know how, just a bit hard to describe.
1) Move the convertible top to the service position, with the front of the top approximately 18" from the window frame, and with the clamshell at a 45 degree angle from the body. If both ball sockets are broken, only the clamshell will move. In that case, move the top manually.
2) Detach the lower rear of convertible top from the plastic clamps by pulling downward.
3) Remove the shiny steel ball joints on the end of steel cables and attached to the lower rear on each side of the top by prying them off with a screwdriver. These are not the ball joints for repair. We'll get there.
4) Raise the rear of the convertible top, remove the velcro strap, and attach it to the front of the convertible top frame to hold the rear of the top away from your work. If the top won't stay in the upright position, most likely both pushrods are broken, so have a helper hold the top for you.
5) Locate the pushrods with the white or red or black plastic ball joints on each side of the mechanism. Usually both of the ball joints will be broken at the center of the round joint, but not always. Inspect the area around the pushrods for any damage or holes from the wayward pushrods, and compare the pushrods with each other. They should look identical with the same bends. They are pretty hefty, so it's very unusual for them to bend. Locate the ball on the mechanism that mates with the ball joint. If you don't see any damage, proceed.
6) I found it is easier to attach the ball joints with the top down, and with the pushrods rotated to the rear. IMPORTANT: Place a piece of tape on the threads below the base of each of the plastic ball joints so you have a reference point when you screw the new ball joints in.
7) Remove the old ball joint from the pushrod with a 12mm open end wrench or pliers.
8) Screw the new ball joint onto the pushrod up to the tape reference, orienting it facing inward to mate with the ball. Place the ball joint over the ball.
9) With a medium or large screwdriver, using the rubber trim of the body as a lever, carefully push the ball joint onto the ball until it snaps in place. Repeat the process on the other side.
10) Remove all of your tools from around the top and the cavities, remove the strap, place it on the velcro, reattach the shiny ball joints, insert the lower part of the top in the holder.
11) Testing- Using the convertible top switch, move the top all the way down, and make sure it seats. Move the top all the way up, and make sure it seats, and that the latch works properly. There is adjustment provided in the pushrods if the top isn't seating properly, but if you screwed the new ball joints to the reference point, it shouldn't require any adjustment.
Payment,
Service, Shipping and handling
Your
business and satisfaction are very important to us. We accept PayPal
payments either from your personal PayPal account, or using your
personal credit card through PayPal. We will ship quickly anywhere in
the world, wherever it's allowed, and we will combine shipments.
Shipping to most destinations is via USPS. We are not responsible for
duty
taxes or delays in customs. We generally will the ship
same day if we receive your payment by 10am U.S. Central Time. Other
shipping methods are available. We reserve the right not to ship to
potential buyers with low or negative feedback ratings, if there is a
significant delay in payment, or if we believe there could be fraud
involved. Feel free to contact us first with any questions or
problems: garyc@isiplanet.com
Disclaimer
We have taken great care to ensure that the products and solutions we provide are of the highest quality. It is ultimately the repairers, technician, mechanic, or handyman's responsibility to ensure that the work, repair or maintenance complies with national and local safety regulations. Because many variables exist regarding the quality and use of tools and materials and because no control can be exercised over the repairer, mechanic or handyman's abilities in repairing and maintaining any motor vehicle, we take no responsibility for any losses, damage or injuries that may occur. Since we cannot control or be assured that proper supervision and safety equipment will be provided and used when undertaking a repair or maintenance project, no expressed or implied responsibility or liability is assumed regarding any persons' safety during or after undertaking any repair or maintenance projects using any of our products or solutions.
Ordering Ball Sockets
To order securely with a credit/debit card, or with your PayPal account, choose your location for free shipping: